What the barbell row trains, and who is ready for it
The bent-over row asks for two jobs at once. The upper back and lats move the bar, with the biceps and rear shoulders assisting, while the hamstrings, glutes and the long muscles beside your spine hold your torso still at one angle. That second job is what separates it from supported rows, and why strength programmes keep it: it trains the back to hold its shape under load as well as to pull.
A 2009 study comparing rowing exercises in seven young men found that the standing bent-over row worked the whole back hard but put the largest load on the lower spine of the rows tested. That is a reason to build up to it, not to avoid it. If you can already hold a flat back in a Romanian deadlift, you have the hinge it needs. If not, a seated cable row or a bench-supported dumbbell row trains the same pulling muscles while you learn.
Setting the hinge before the first rep
- Start light. An empty Olympic bar, or a fixed-weight barbell from the rack, is plenty for your first sessions.
- Take the bar from a rack set at mid-thigh height, or deadlift it from the floor with a flat back. Stand with your feet about hip-width apart and the bar over the middle of your feet.
- Grip overhand, hands just outside your thighs and a little wider than your shoulders, thumbs wrapped around the bar.
- Unlock your knees, then push your hips back until your torso is parallel to the floor or slightly above it. The bar hangs straight below your shoulders, roughly at knee height.
- Brace: breathe into your belly and tighten your stomach, eyes on the floor a short way ahead so your neck stays in line.
- Choose a load you can row eight to ten times without your torso rising. Expect it to be lighter than your seated row: the hinge, not the pull, sets the limit.
Rowing the bar
- Start from straight arms and a braced trunk, shoulders drawn slightly back so the upper back is set.
- Drive your elbows back and up, a little way out from your sides, pulling the bar in a straight line towards your lower ribs.
- Touch the bar to your stomach, or get as close as you can without lifting your torso to meet it.
- Lower it under control until your arms are straight, letting your shoulder blades spread at the bottom.
- Keep your hips back between reps. Take a fresh breath at the bottom every rep or two, and brace again before the next pull.
Film one set from the side: your back should look the same on the last rep as on the first. If your shoulders have climbed a hand's width by the end, the bar is too heavy for those reps. If your lower back hurts during or after rowing, stop and have it checked by a doctor or physiotherapist before you load the hinge again.
Mistakes that move the work into your lower back
| Mistake | What it looks like | The fix |
|---|---|---|
| Standing up as the set goes on | Each rep starts a little more upright until the row turns into a shrug | Take weight off and end the set when you can no longer hold your starting angle |
| Rounding the lower back | The spine curves at the bottom of the rep or as fatigue sets in | Lighten the bar, brace every rep and hinge a little less until the shape holds |
| Heaving with the hips | The hips snap forward to throw the bar up | Keep the hips still; if you want a looser, heavier row, choose the Yates row on purpose |
| Rowing to the chest | The elbows flare wide and the bar hits the breastbone | Aim for the lower ribs or upper stomach, with the elbows angled back |
| Craning the neck | The head lifts to watch yourself in the mirror | Look at the floor a little ahead of you and keep your neck in line with your back |
Pendlay, Yates and underhand rows
These three versions change your torso angle, your grip or how each rep starts. All of them train the same back muscles; what differs is how much they ask of the hinge.
Pendlay row
Named after the weightlifting coach Glenn Pendlay. Your torso sits close to parallel with the floor, and every rep starts and ends with the bar at a dead stop on the floor, pulled hard to the upper stomach in between. The pause lets you reset your back each rep, which many lifters find easier than a continuous set.
Yates row
Popularised by the bodybuilder Dorian Yates. The torso is far more upright and the grip is usually underhand. The shorter lever lets you handle more weight with less demand on the lower back, at the cost of a shorter pull and more temptation to heave. Use it as a heavier option beside the standard row.
Underhand-grip row
Turn your palms up and grip at about shoulder width. Your elbows stay closer to your sides, the bar lands lower on the stomach and the biceps work harder; many people feel the lower lats more this way. If the underhand grip bothers your wrists or elbows, go back to overhand.
If every barbell is in use, or your lower back needs a day off, a one-arm dumbbell row or a seated cable row trains the same muscles with your torso supported. A chest-supported row or a T-bar row, where a gym has the kit, are two more options.
Sets, reps and where it goes in a session
| Goal | Sets × reps | How hard |
|---|---|---|
| Learning the hinge-and-row | 3 × 8 | Light enough that your torso angle never changes |
| Building muscle | 3–4 × 8–12 | Stop with two reps left, before the hips start to help |
| Strength | 4–5 × 5–6 | Heavier, with every rep from a straight arm and no hip drive |
Rest two to three minutes between heavy sets, since your lower back needs the recovery too. The plate calculator helps you load the bar exactly.
Put the barbell row early in a session while your trunk is fresh, and avoid placing it straight after heavy deadlifts, when the muscles holding your hinge are already tired. When you reach the top of your rep range on every set without your torso rising, add the smallest plates available. The compound lift guide covers how rows sit beside squats, presses and deadlifts in a week.
The barbell row at RPM
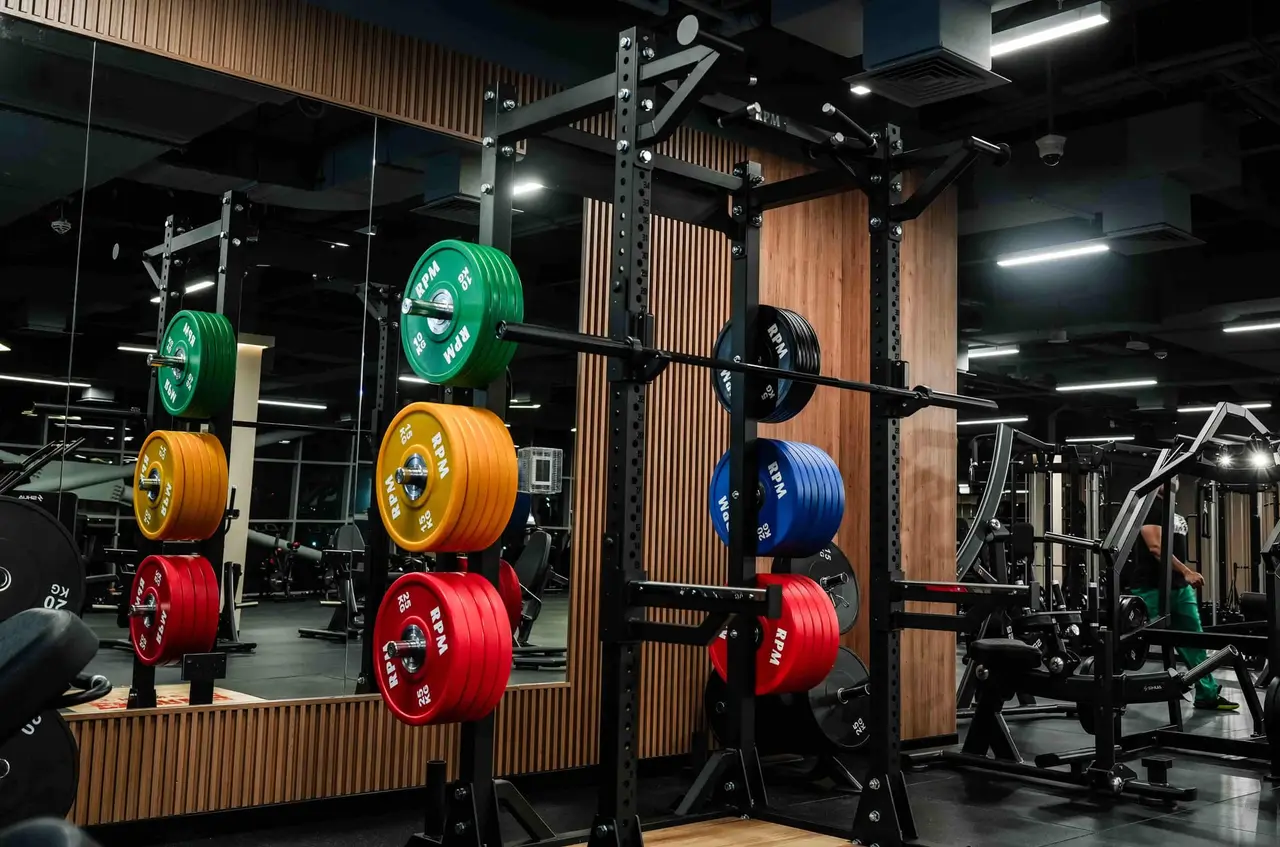
RPM's floor photos show squat racks with barbells and colour bumper plates, plus a rack of fixed-weight barbells including EZ bars, so there is a bar for every stage of learning this row. The photos do not confirm a Smith machine for a guided version; ask about one on a free guided tour. To have your hinge checked from the side before the weight goes up, book a personal training session.
Sources
Questions, answered.
What muscles does the bent-over row work?
The upper back and lats do the pulling, and the rear shoulders and biceps assist. The hamstrings, glutes and lower-back muscles hold the hinge throughout.
Dumbbell or barbell for bent-over rows?
A barbell lets you load more and add weight in small steps. Two dumbbells give each arm its own path and let the wrists turn freely, which some people find more comfortable on the shoulders. Both need the same hinge.
Is the bent-over row bad for your lower back?
It loads the lower back more than supported rows do, and that is part of what it trains. If you already have back pain, see a doctor or physiotherapist before you row from a hinge. Supported rows take the hinge out, which is why coaches often use them instead.
Bent-over row or seated row?
Use both if your programme has room. The bent-over row adds the hinge and a bar you balance yourself; the seated row lets you push the upper back hard without your lower back setting the limit. The back training guide pairs them across a week.
Can I do the bent-over row on a Smith machine or a cable?
Yes. The Smith machine fixes the bar on rails, which removes the balancing but not the hinge; see the Smith machine guide. A standing row from a low cable pulley pulls you forward, so expect to use less load.