The dish shape, and why gymnasts drill it
From the side, a good hollow hold looks like a shallow dish: lower back flat on the floor, ribs drawn down, pelvis tucked under, and head, shoulders and legs lifted a few inches. Gravity pulls your arms and legs towards the floor, and because they sit at the ends of a long lever, that pull tries to tip your pelvis forwards and arch your lower back. The rectus abdominis, the deep abdominal wall and the obliques resist it, while the hip flexors hold the legs up and the front of the shoulders holds the arms.
It belongs to the same anti-extension family as the plank and the dead bug, but the shape is a curve with the lower back flattened, not a straight line. Gymnastics coaches see it as a basic body position that many skills build on, from swings on a bar to the start of a V-up, which is why it turns up in bodyweight and conditioning programmes.
If your back lifts even in the dead bug's start position, build that first: the hollow asks for the same flat back with your shoulders off the floor. The core training guide shows where it fits with carries, other holds and the big lifts. If you are pregnant or postnatal, ask your doctor or midwife which core exercises suit you.
Setting the hold, one step at a time
- Lie on your back on a mat, knees bent, feet flat and arms by your sides.
- Breathe out fully and tilt your pelvis so your lower back presses into the mat. Slide a hand underneath: you should feel firm pressure, not a gap.
- Keeping that pressure, curl your head and shoulder blades a little off the floor, chin slightly tucked, eyes on your knees.
- Lift your feet so your knees are over your hips and your shins level with the floor, hands reaching towards your feet. This is the tuck hollow, the first rung of the ladder below.
- Breathe in short, quiet breaths behind a firm stomach, and lengthen a lever only when the tuck feels steady.
How to tell your lower back has lifted
The whole exercise depends on one point of contact that you cannot see while you hold it. Check it these ways, the most reliable first.
- A hand test. A partner or coach tries to slide fingers under your lower back during the hold; if they get through, the back is up.
- A sheet of paper. Lie on a thin sheet and have someone tug it: if it slides out easily, the contact has gone.
- Where you feel it. Effort low in the stomach is right. If the work moves to the front of your hips or into your lower back, the pelvis has probably tipped.
- Ribs and stomach. Ribs flaring up or the stomach doming outwards usually comes just before the back lifts.
- A side-on video. Ten seconds filmed at hip height shows a lifted back as daylight under it.
When the back lifts, shorten a lever rather than finishing the time: bend the knees, raise the legs or bring the arms forwards. If you feel pain in your lower back, end the hold and speak to a doctor or physiotherapist.
The lever ladder: from tuck to full hollow
Your arms and legs are the levers: the further they reach from your middle, and the closer to the floor, the harder your trunk works. Move up a rung when you can hold three sets of about thirty seconds with the back down throughout.
| Rung | Arms | Legs | What changes |
|---|---|---|---|
| 1. Tuck hollow | Along your sides, reaching to your feet | Knees bent over the hips | The shortest levers: learn the flat back here |
| 2. One leg out | Along your sides | One straight and long, one tucked; swap halfway | Half the leg lever; the tucked leg helps hold the pelvis |
| 3. Legs out, arms by your sides | Along your sides | Both straight, high at first, lowered over the weeks | The full leg lever |
| 4. Arms overhead, knees tucked | Overhead, upper arms by the ears | Knees bent over the hips | The long arm lever on its own |
| 5. Full hollow | Overhead, by the ears | Straight, together, just above the floor | Both levers long: the gymnastics standard |
Leg height is a dial on every rung: higher is easier, lower is harder, and the legs go only as low as the back allows. Rungs 3 and 4 load different ends, so do whichever is easier for you first.
Arms by your sides keep their weight close to your middle. Overhead, they add a long lever and pull on the ribs: if the ribs flare, stop the arms level with your ears or slightly forwards rather than reaching for the floor. Stiff shoulders often make this end the harder one.
Hollow rocks, once the hold is solid
A hollow rock keeps the full hollow shape and rocks it, like the runner of a rocking chair, between your upper back and your tailbone. Start them when three thirty-second full holds are comfortable. Nothing bends: the rigid shape tips as one piece.
- Set the full hollow with your back pressed down.
- Start with a small nod of the head and arms, and roll back towards your shoulder blades.
- Roll forwards onto your lower back and tailbone, legs still low and the shape unchanged.
- Keep the rocks small, then build a steady rhythm of about one a second.
If your hips fold on each rock, it has turned into half a V-up; if the arms and legs swing on their own, the rock stalls. Shorten the levers until the shape holds. Beyond rocks, a light dumbbell held overhead makes the static hold harder, and the hollow is the start and finish of each V-up.
Hollow hold vs plank: what each one trains
Both are anti-extension holds. They differ in shape, in where the load goes and in who else joins in.
| Plank | Hollow hold | |
|---|---|---|
| Position | Face down, on forearms and toes | Face up, on the middle of your back |
| What gravity pulls down | Your hips | Your arms and legs |
| Spine shape | A straight line from head to heels | A shallow curve, lower back pressed flat |
| Who else works hard | Glutes and shoulders | Hip flexors and the front of the shoulders |
| Weight on your elbows or hands | Yes: the forearms, or the hands in a high plank | None |
| Easiest version | Knees down, or forearms on a bench | Knees tucked, arms by your sides |
Neither wins on every count. The plank is easier to start and trains the straight line of a push-up. The hollow is the shape gymnastics and many bodyweight skills ask for, and it suits people whose elbows or wrists dislike planks. Feeling one more in your stomach does not make it the better exercise; plenty of people use both in a week.
Seconds, sets and where it goes in a session
| Stage | Sets × hold | Stop the clock when |
|---|---|---|
| Tuck hollow | 3 × 15–20 seconds | The back lifts or the shoulders sink |
| One leg out, or legs out with arms by your sides | 3 × 20–30 seconds | The back lifts; raise the legs before you end the set |
| Full hollow | 3–4 × 20–30 seconds | The ribs flare, or the legs sink and the back follows |
| Hollow rocks | 3 × 10–15 rocks | The hips start to fold or the rock stalls |
| Not yet at 15 seconds | 6–8 × 8–10 seconds, 10 seconds' rest | Any hold loses the flat back |
Rest thirty to sixty seconds between sets, and count only the seconds your back is down.
It has two good places in a session. In a warm-up, one or two holds of ten to twenty seconds before overhead pressing, pull-ups or gymnastics work rehearse the ribs-down brace. In a core block after your main lifts, do three sets two or three times a week, alongside an exercise for another job such as a Pallof press. Keep long, hard sets for after heavy squats or deadlifts, not before. Progress the rung before the time: once thirty seconds is comfortable, the next rung does more than chasing a minute.
Hollow holds at RPM
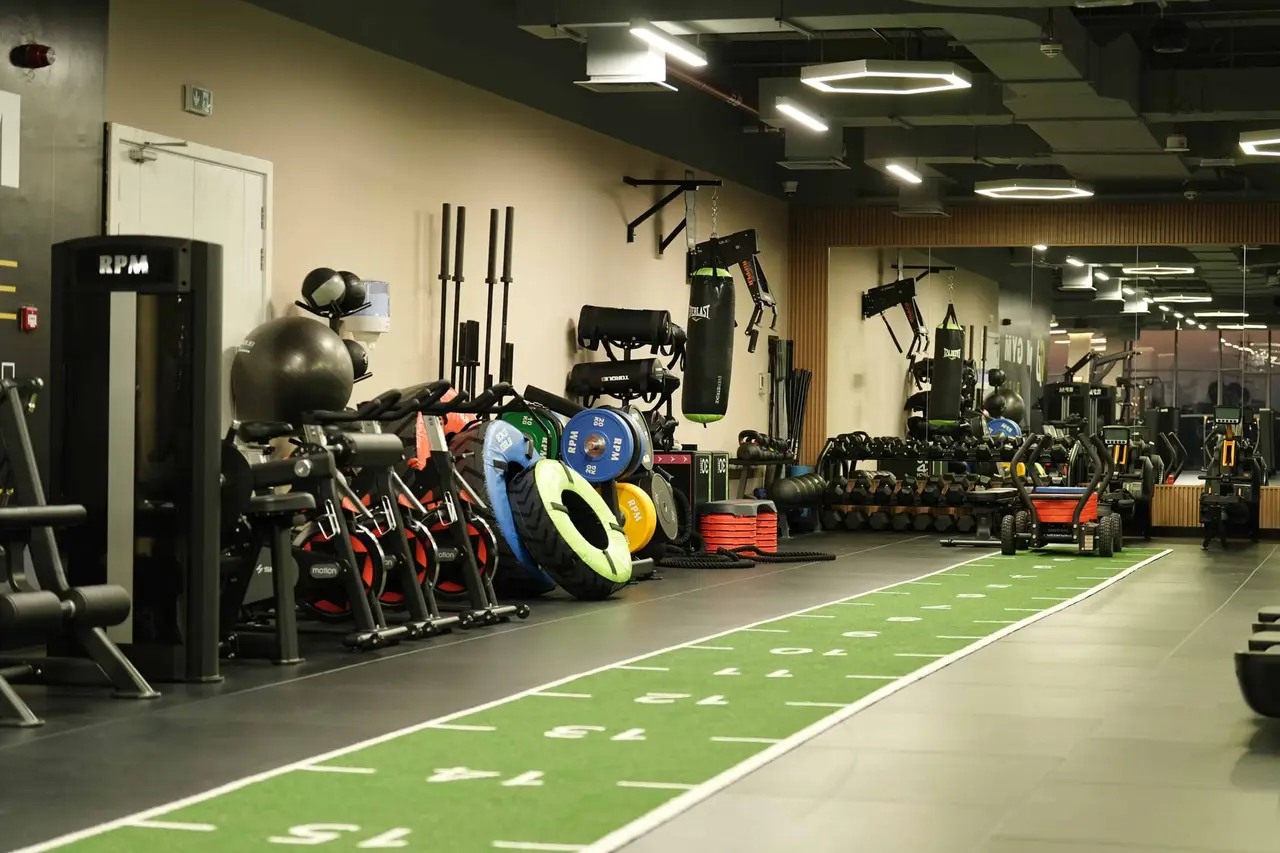
The hold needs only a mat and room to lie at full length. RPM's floor photos show a turf lane in the functional area and a dumbbell rack for the weighted hold; on a free guided tour, ask whether mats are available and where floor work fits at your hour. You cannot see your own lower back here, so a personal training session is a quick way to have it checked, and you can ask for a female personal trainer.
Questions, answered.
What muscles does the hollow body hold work?
Mainly the rectus abdominis, with the deep abdominal wall and the obliques, holding the pelvis and ribs against the pull of your limbs. The hip flexors hold the legs up, so expect to feel the fronts of your hips too. It builds trunk strength and control; it does not burn fat from your stomach.
Hollow body hold vs dead bug: which comes first?
The dead bug. Both keep the lower back down, but the dead bug moves one arm and one leg at a time from a tucked position, while the hollow holds all four limbs out and lifts your shoulders. Once the full dead bug is steady, start at the tuck hollow.
How long should you hold a hollow body hold?
As long as your lower back stays down, usually twenty to thirty seconds a set on the hardest rung you can manage. If a minute is easy, move up a rung; if fifteen seconds is out of reach, do several ten-second holds.
Why do I feel the hollow hold in my hip flexors?
They hold your legs up, so some of that is expected. If it is most of what you feel, your back has probably lifted and the legs are hanging off your hips: raise the legs, bend the knees or shorten the hold until your stomach takes over again.