What crawling on all fours asks of you
In the bear position your weight rests on your hands and the balls of your feet, knees bent under the hips and lifted an inch or two off the floor. The fronts of the thighs hold that bend, the shoulders hold up the front of your body, and the abdominal wall stops the lower back sagging between them.
Crawling adds the hard part. Each step lifts one hand and the opposite foot at the same moment, so for an instant you are balanced on a diagonal, and the hips want to sway towards the side that has lost its support. The obliques and the deep trunk muscles resist that sway step after step while you travel. That is the difference from the plank, a still hold, and from the hovering version of the bird dog, which reaches from the same low position without going anywhere.
The load is only your bodyweight, so it builds little maximum strength. Its value is control while moving, which is why it turns up in warm-ups, core blocks, finishers and obstacle race training. The core training guide shows how exercises that resist movement fit around your main lifts.
Start with the bear hold
The hold is the crawl without the steps; if you cannot keep it still, you will not keep it moving.
- Kneel on a mat or on turf with your hands under your shoulders and your knees under your hips. Spread your fingers and tuck your toes under.
- Push the floor away so your upper back fills out and your shoulders sit over your wrists, rather than sinking between your shoulder blades.
- Breathe out, tighten your stomach lightly and lift both knees an inch or two off the floor. Your back stays flat, the hips at about the height of your shoulders or a touch lower.
- Hold, and keep breathing. Your eyes are on the floor a little ahead of your hands, so the neck stays long.
- End the hold the moment your backside rises or your lower back sags. Put the knees down, rest and go again.
Before you crawl, tap one hand to the opposite shoulder and lift one foot an inch; if neither shifts your hips, you are ready. If the hold makes your wrists, shoulders or lower back hurt, stop and speak to a doctor or physiotherapist before you carry on.
The crawl: opposite hand, opposite foot
- From the bear hold, move your right hand and left foot forwards together, a short step of about a hand's length.
- Place them down quietly, then move your left hand and right foot the same distance.
- Keep the knees an inch off the floor the whole way. They stay under your hips rather than reaching forwards or lifting your backside.
- Keep the hips level. Picture a line across the back of your hips staying parallel to the floor; if it tilts with each step, take shorter ones.
- Crawl to a set distance or time, then put the knees down before your shape goes, not after.
Why opposite limbs? Moving the right hand with the left foot leaves you supported on the other diagonal, the same cross pattern your arms and legs follow when you walk. Moving the hand and foot on one side together leaves you balanced along one edge, and the body tips. Count the steps in pairs until the pattern no longer needs thought.
Breathe steadily, out every two or three steps, rather than holding your breath. A slow, quiet crawl with level hips is harder, and more useful, than a fast one that bounces.
Mistakes that turn a crawl into a scramble
| Mistake | What it looks like | The fix |
|---|---|---|
| Hips piked high | The backside rises and the legs straighten, so you walk in an upside-down V | Lower the hips to about shoulder height, knees bent under them |
| Knees touching down | The knees brush or drag on the floor with each step | Shorten the steps and slow down; go back to holds if it keeps happening |
| Hips swaying | The hips swing from side to side as each foot moves | Smaller steps and a firmer brace; move the hand and foot at the same moment |
| Same-side hand and foot | The right hand and right foot move together and the body tips | Stop, reset in the hold and count opposite pairs |
| Reaching too far | The hands land well ahead of the shoulders and the lower back sags | Keep each step short, hands landing roughly under the shoulders |
| Head hanging | The chin drops and you watch your feet | Eyes on the floor just ahead of your hands |
Backwards, sideways and other versions
Once the forward crawl stays level for a few metres, change direction before you add speed.
Backward bear crawl
Crawl in reverse with the same opposite pairs, feet leading. Check the floor behind you first and keep the steps short; pushing back from the hands loads the shoulders and thighs differently, and the hips tend to rise, so watch for the pike.
Lateral bear crawl
A common way to teach it is reach and follow: the right hand and right foot step out to the right, then the left hand and foot follow, without crossing. The hips want to twist towards the leading side, so the obliques work hard to keep them square. Go the same distance back the other way.
Bear hold with shoulder taps
Stay in the hold and tap one hand to the opposite shoulder, then switch. With no travel, all the work goes into keeping the hips still on three points, so it suits small spaces and busy days.
Bear crawl, bear walk and crab walk
Names vary between gyms. A bear walk usually means straighter legs and the hips high, which asks more of hamstring flexibility and less of the trunk. A crab walk faces the ceiling, hands behind you and hips lifted, and works the backs of the shoulders, the triceps and the glutes instead.
Not ready for the hold? Crawl with the knees on the floor, or learn the diagonal with the bird dog. For harder conditioning, mountain climbers drive the knees fast with the hands still and burpees add the trip to the floor and back; the Turkish get-up is the slow, loaded way to move between the floor and standing.
Distances, times and where it fits
| Goal | Distance or time | How hard |
|---|---|---|
| Learning the hold | 3 × 10–20 seconds | Knees an inch up, back flat, breathing steadily |
| Learning the crawl | 3 × 4–6 steps forwards and back | Slow and quiet; hips level on every step |
| Warm-up | 2 × 5–10 m forwards and back | Easy; enough to wake up the shoulders and trunk |
| Core block | 3 × 20–30 seconds, changing direction | Stop when the knees touch or the hips sway |
| Finisher | 4–6 rounds of 10–20 m, about a minute's rest | Breathing hard, shape intact on the last round |
These are common starting points, not a prescription. Crawl for time in a small space and for distance in a clear lane.
As a warm-up, a few easy lengths before pressing or squatting get the shoulders, wrists and trunk working without tiring them. As a finisher, it goes at the end of a strength session, when nothing heavy follows. In obstacle race training it is also a station between runs: the obstacle course race guide pairs bear crawls on the turf with running and burpees.
Progress in this order: a longer hold, a longer crawl, the other directions, shorter rests, and only then speed. Two or three short blocks a week are plenty. How much energy a crawl uses depends on your size, pace and how long you keep going, so this page gives no calorie figure.
Bear crawls at RPM
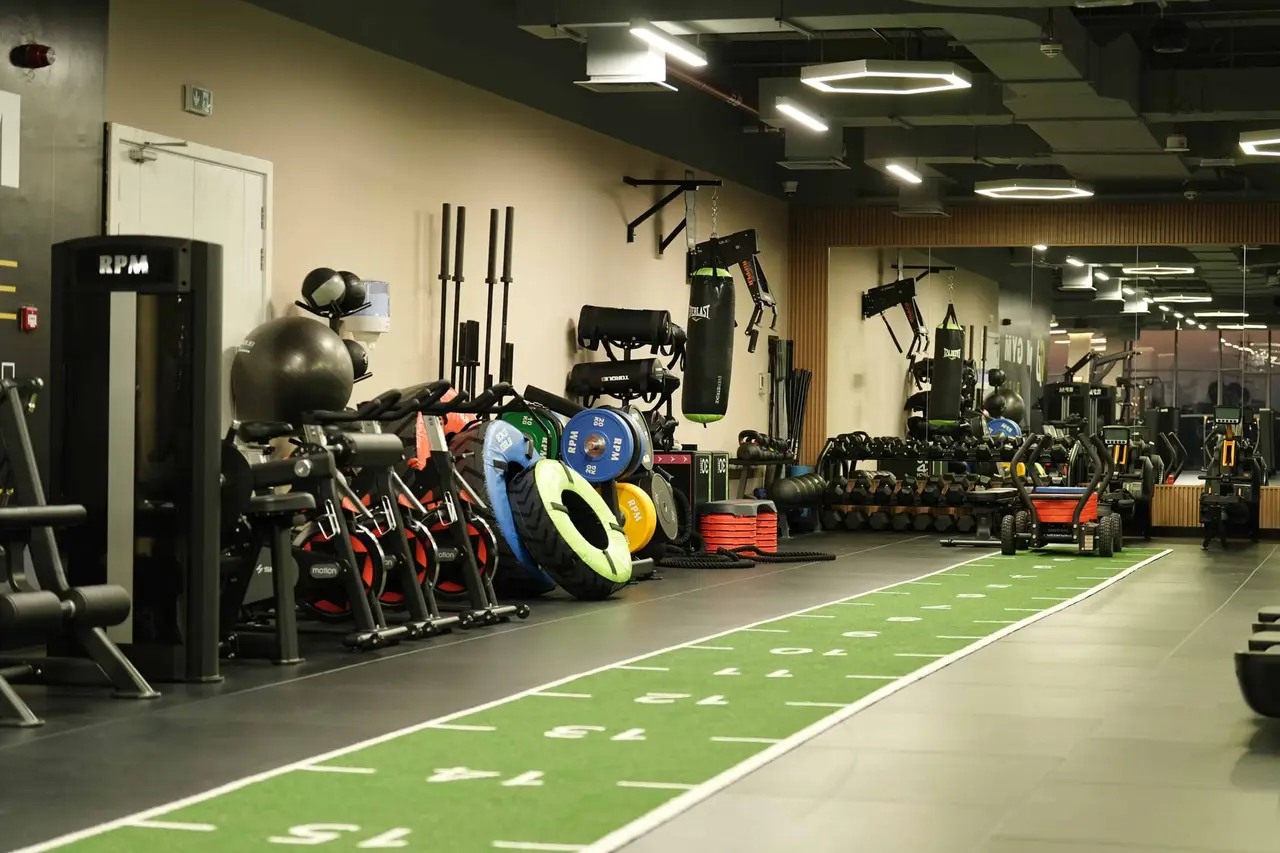
A bear crawl needs a clear strip of floor, not equipment. RPM's floor photos show a turf lane with a sled in the functional area, and open turf suits crawling whenever nobody is pushing the sled. Ask on your free guided tour when the turf lane is quiet enough for crawls, and where to crawl when it is not. For crawls inside a wider conditioning plan, see functional training at RPM, or book personal training if you want a coach to watch your hips from the side.
Questions, answered.
What muscles does the bear crawl work?
The abdominal wall and obliques keep your back flat and hips level, the shoulders, chest and triceps hold up the front of your body, and the quads hold the bent knees. Crawled for distance, it works your heart and lungs too.
How long should I hold the bear position?
Start with ten to twenty seconds and build towards thirty to forty-five, as long as your back stays flat. Three clean short holds teach more than one long hold in which the knees keep touching down.
Bear crawl or mountain climbers?
Mountain climbers keep the hands still and drive the knees, so they are easy to do fast in a small space. The bear crawl travels with the knees low, so it asks more of the shoulders, the thighs and your balance. Many circuits use both.
Is the bear crawl good for beginners?
Yes, in stages: the bear hold, then a few steps, then longer distances. If the hold is not steady yet, start with the bird dog.
Can I do bear crawls at home?
Yes. A clear strip of floor a few metres long, or a small square to crawl forwards and back in, is enough. Use a surface that does not slip.